Wednesday, September 4, 2013

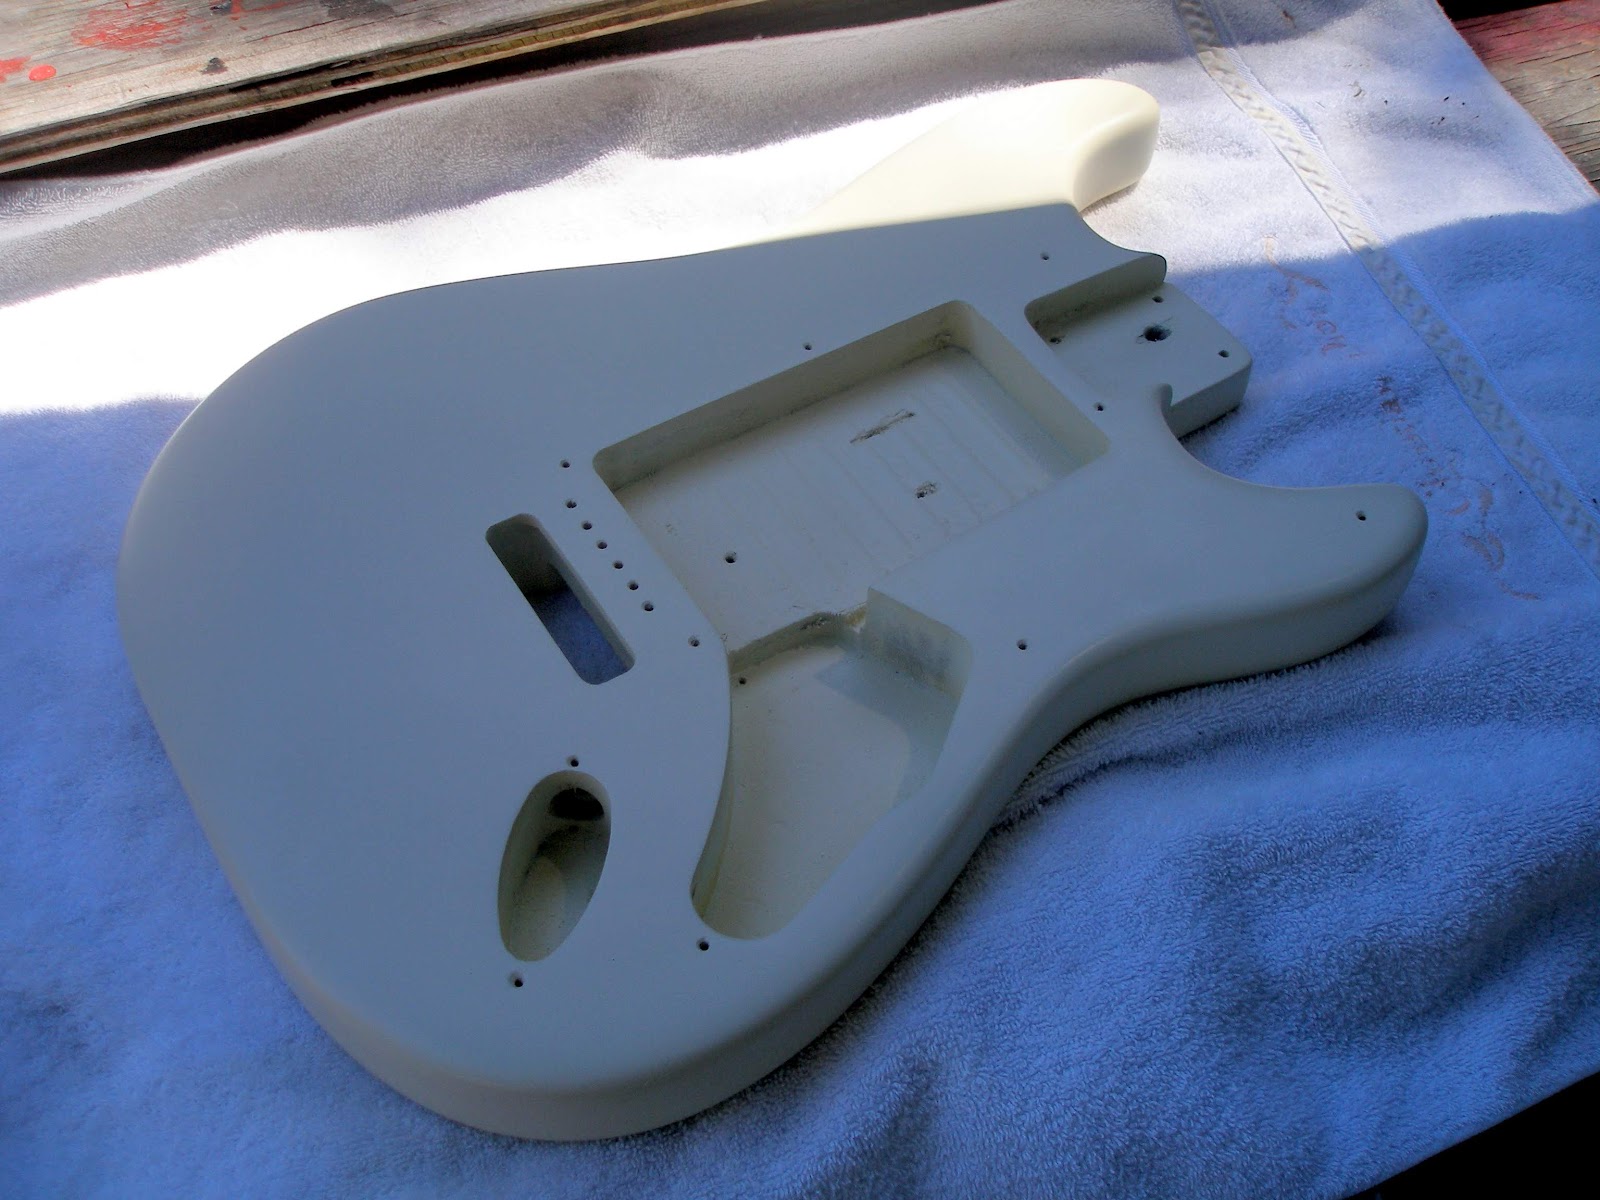
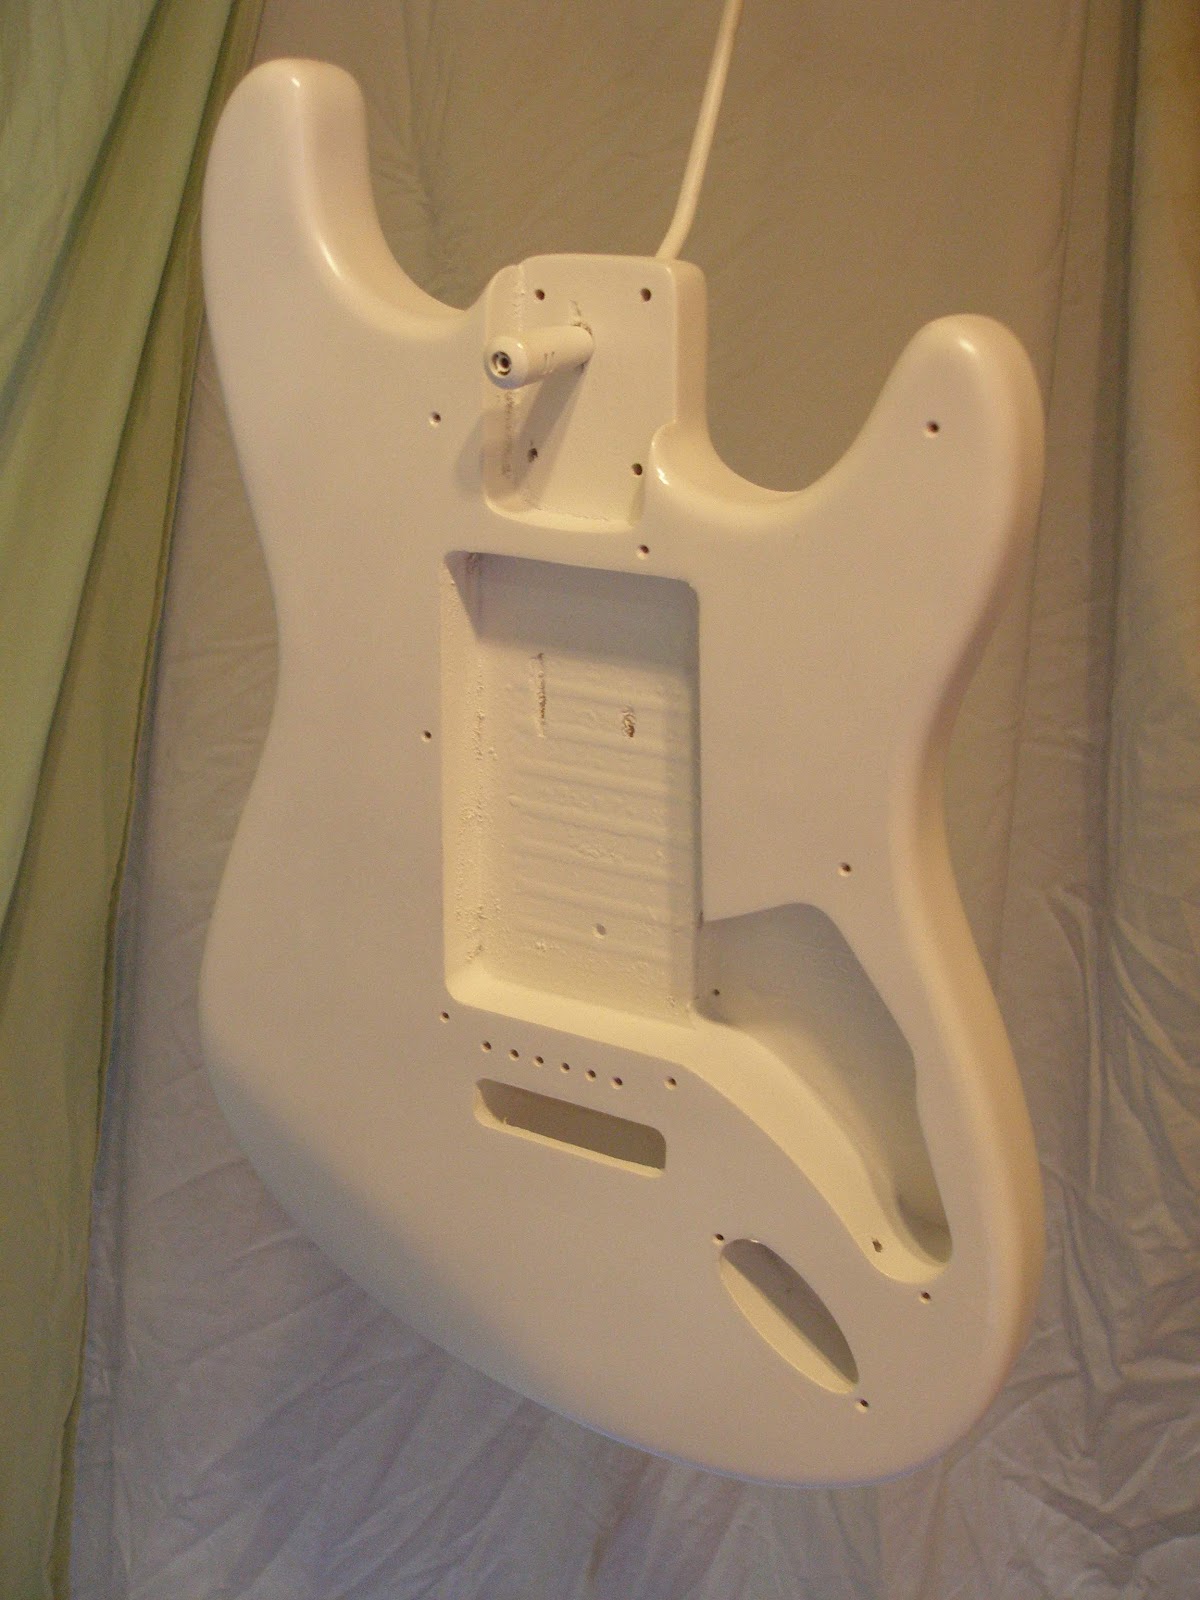
Mural: Stage 2 - Painting


So the second part of today began with building a jig
or mount to make working on the guitar much more
efficient ... er, possible.

Followed by that was mixing the right shade of blue.

The blue turned out really awesome, making the 
previous "ivory" that appeared "cream" to now appear
as if it was vintage-white, just like I thought. 


The end result for this stage really satisfied me. I was
anticipating a different finished result, but am actually
more pleased with this vintage "summer of '69" feel.


On to the next step. :)

Mural: Stage 1 - Design prep


Here is the finished background. The hue looks cream,
but it's actually "ivory" ... the "cream" looked really
yellow, so this will likely appear as a vintage white in
the end as colors always appear to the eye differently
depending on adjacent hues.


To further document this guitar build, here is 
a pic showcasing the general design layout. You can also
see the design sketch on the paper template sitting
there on the floor. This step was important in getting
the positioning of the stars & stripes to the desired presentation.

By the way, to give credit where credit is due, 
the line template for the Fender Stratocaster that I used,
is Joseph Tubb's custom created guitar template and
can be downloaded for free here: http://goo.gl/gy3MO4


In this picture, you can see where the stars were placed
and where they were cut out prior to washing/drying
to create a finished frayed affected.

Garbage cans make a great place to practice painting.

Perhaps you can tell which of the test strips happened
in which order. I dipped the frayed cloth strips into the
paint, saturating it completely and then removed 
the excess paint by pulling the cloth between two fingers
creating a wringing effect.

The first attempt: 
I placed the cloth strip on the surface of the can lid and tapped my
fingers on the cloth to even it out. I did this only lightly,
because i wanted a natural material imprint to remain.
However, not enough paint was applied to my liking.

The second attempt:
Fresh paint, wrung out. This time, I pressed down more
liberally, but the end result also did not meet 
my desired liking as too much of the background color
was visible. 

The third attempt:
Now in this attempt, there is a significant amount of paint
being left behind when the cloth strip is pulled off the substrate, 
but I'm not gaining the cloth texture effect which I'm hoping
to achieve. 

The fourth attempt:
As you can see in this picture, the cloth strip remains 
to sit on the canvas and after 20-minutes, I will pull it off
and see what kind of texture is left behind now that 
it's had some time to dry.


The fourth attempt: part 2
Well, after waiting the 20-minutes, a random amount of 
time I chose, I peeled off the semi-dried strip of cloth.
To be honest, I think the third attempt gave me
better results.

Compare the third and fourth attempts by clicking on 
this image to enlarge it. Though, the fourth attempt did
leave nice texture, it was too transparent and hit & miss; 
whereas, the third attempt was much more opaque, 
but also showed the texture of the cloth.

So, the solution for this particular project is to 
repeat the approach I used in the third attempt by 
not wringing out as much paint and even more importantly,
rubbing instead of tapping the cloth for an even application.

In the final results, I will provide even more detailed
images to showcase the cloth texturing.


Tuesday, August 27, 2013

Paint: Stage 3 - BG Color


Well, Lil Bess now has some color.
The background color for this mural is
ivory, which is like an off-white with an
essence of parchment-paper yellow.  
The color, white, was going to be too
contrasting for the artwork.

I applied several thin coats today according
to the instructions and now we wait for
it to cure for 24-hrs ... sand and repeat. 

Monday, August 26, 2013

Paint: Stage 2 - Cavity Primer


Okay, the masked section for cavity priming
which happened in the previous blog post 
is now ready to be removed.


Masking removed and freshly sanded 
with 600g sandpaper to return the surface
back to a smooth surface ready for paint.


Here is the end of the 2nd coat. There are
still a couple of spots that need a bit more
paint, so I'll have to pick up another can 
of spray paint as I've just emptied the last one.


After the final coat of white base/primer, 
I'll be painted it an off-white or muted cream
for the background color. At first, I was
going to use this white as the bg color, but
it would end up too visually obtrusive.

So now, we wait 24-hours for it to cure and 
sand/paint again. 

Wax on. Wax off.
~ Miyagi

Saturday, August 24, 2013

Paint: Stage 1 - Primer


Off to the paint room. The grand thing
about this "paint room" is that it also works
as a wood shop, art studio and a place to 
park the car most nights. I think it might
just be the best "room" in the entire house. ;-)

In this picture you can see where I routed out
a cavity for the new battery box. To be honest,
I'm really not sure why battery boxes aren't
standard on electric guitars, because it provides
a wider frequency response and improves 
tonal/sound quality overall.

In this picture, you can see some barewood 
spots where i had to sand out dings and
chipped areas. If you were to run your hand
across the surface, you might not be able
to distinguish their existence.

Coat one of the primer is now drying. 
10-minutes to touch and 1-hour to move,
which at that time, I'll be hanging it elsewhere
to get the car back into the garage, as
the paint needs to cure for 24-hours. 
After it cures, I'll sand it accordingly and 
apply the second coat.

I'm not sure how many base coats 
I'm going to apply yet, but I'll stop when 
it feels right. 

After that, I'll began to paint the mural.

Thursday, August 22, 2013

Battery box cavity


Routing out a cavity for the battery box.

Further prepping with braces.

Friday, August 16, 2013

Stage 3: Secondary Prep work


Today, I found some issues that need to be dealt with
on this guitar.

The first one are these two holes for the "float plate"
that mounts inside the rear panel. This guitar, being an
economical guitar, evidently had less "quality control"
before it left the factory, b/c you'd never see something
like this on a high-end Fender. Anyway, these two holes
are not going to be a big issue, because I'm just going to
drill them out and fill them with a wooden dowel rod and
then re-drill fresh holes so that the float is centered properly.

Here is this picture, you can clearly see how out of line
that the float plate mounting holes are with the body of
the guitar.


Now, the three pictures are probably the biggest issue
as there is a crack on either side of the neck mount
on the body. These two cracks only became visible after
the enamel and layer of paint was removed.

Commonly, I would guesstimate that most people would
scrap the project, but if you know what you're doing, 
this can be fixed. Also, this guitar was given to me and
I'm wanting to keep the costs down of buying replacement
parts as I could easily get a new body or neck or whatever
from Warmoth, which is a guitar parts supplier, but this is an
art project, so I'm not fazed. The big money will be in 
the electronics when the paint work is completed.


From what I have learned is that even
a lot of Fender Strat's have pickup jack holes
without a recessed section for the cable. 
This generally isn't an issue, but it's nice to have
room to work with, so I drilled out a bit more.