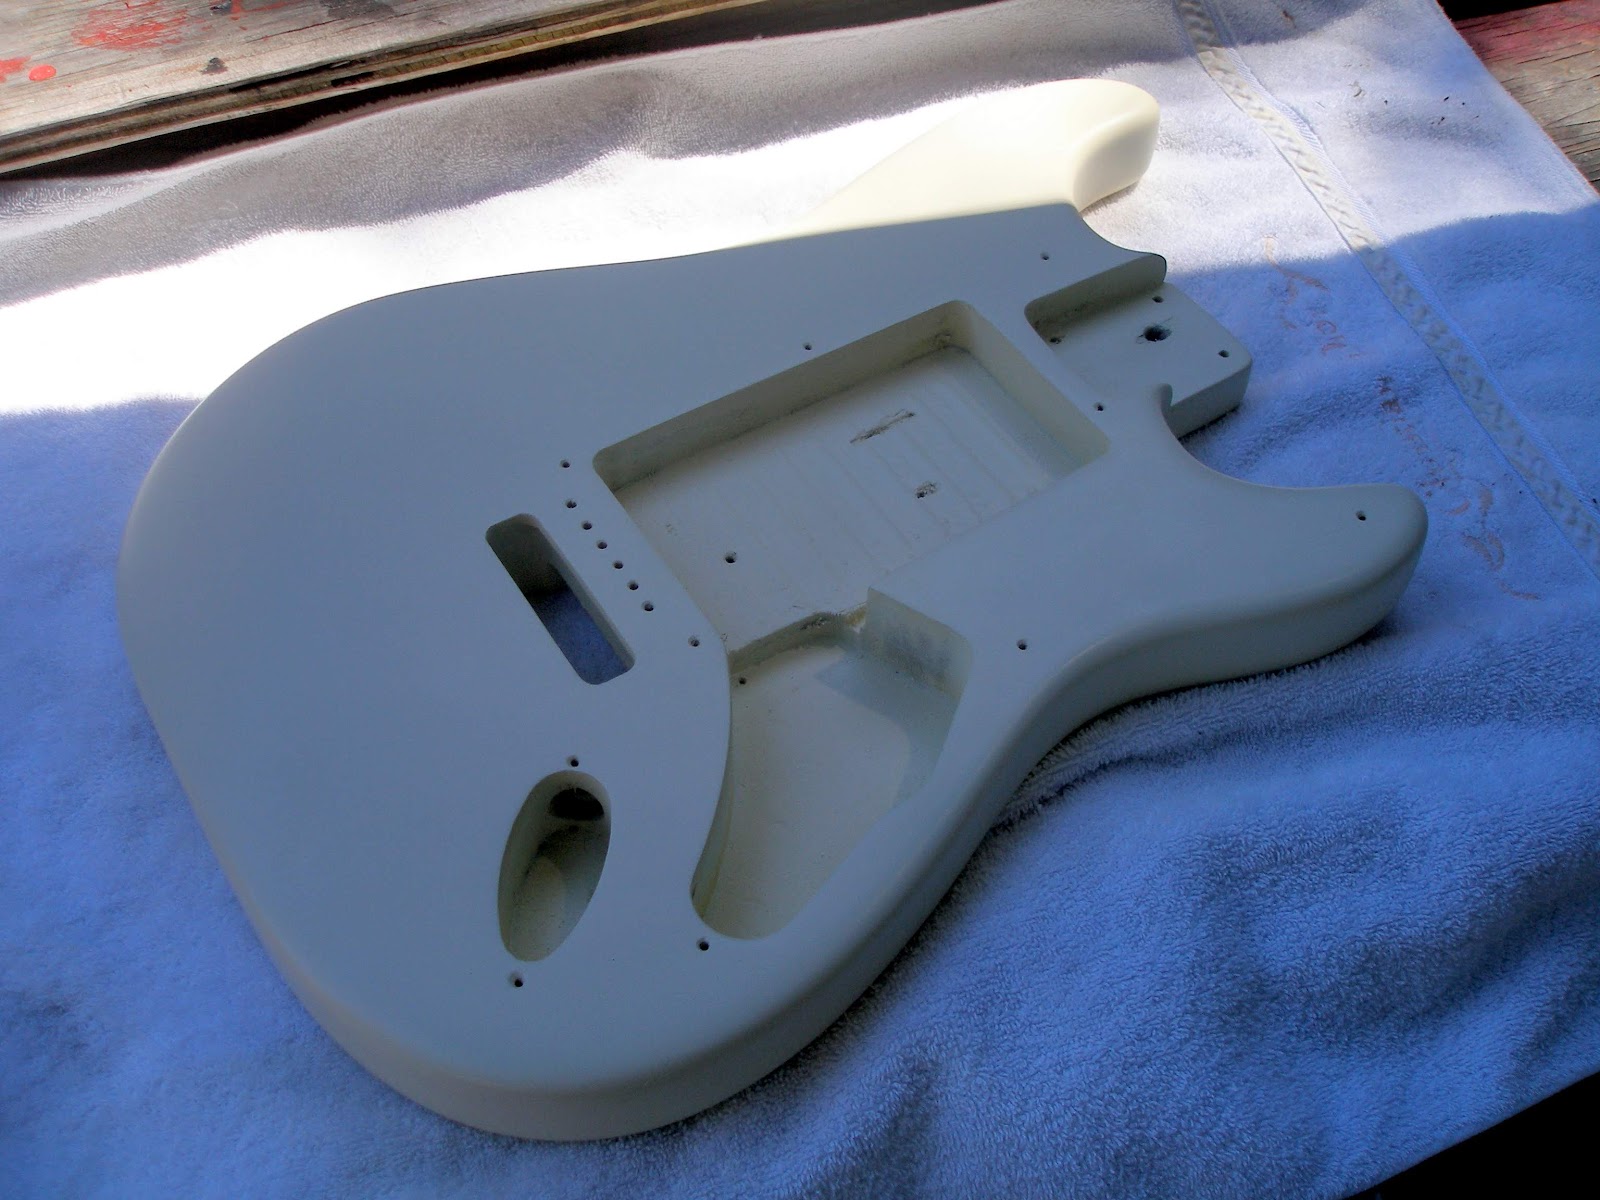
Here is the finished background. The hue looks cream,
but it's actually "ivory" ... the "cream" looked really
yellow, so this will likely appear as a vintage white in
the end as colors always appear to the eye differently
depending on adjacent hues.


but it's actually "ivory" ... the "cream" looked really
yellow, so this will likely appear as a vintage white in
the end as colors always appear to the eye differently
depending on adjacent hues.
To further document this guitar build, here is
a pic showcasing the general design layout. You can also
see the design sketch on the paper template sitting
there on the floor. This step was important in getting
the positioning of the stars & stripes to the desired presentation.
there on the floor. This step was important in getting
the positioning of the stars & stripes to the desired presentation.
By the way, to give credit where credit is due,
the line template for the Fender Stratocaster that I used,
is Joseph Tubb's custom created guitar template and
can be downloaded for free here: http://goo.gl/gy3MO4
can be downloaded for free here: http://goo.gl/gy3MO4


In this picture, you can see where the stars were placed
and where they were cut out prior to washing/drying
to create a finished frayed affected.

Garbage cans make a great place to practice painting.

Perhaps you can tell which of the test strips happened
in which order. I dipped the frayed cloth strips into the
paint, saturating it completely and then removed
the excess paint by pulling the cloth between two fingers
creating a wringing effect.
The first attempt:
The first attempt:
I placed the cloth strip on the surface of the can lid and tapped my
fingers on the cloth to even it out. I did this only lightly,
because i wanted a natural material imprint to remain.
However, not enough paint was applied to my liking.
The second attempt:
Fresh paint, wrung out. This time, I pressed down more
liberally, but the end result also did not meet
my desired liking as too much of the background color
was visible.
was visible.

The third attempt:
Now in this attempt, there is a significant amount of paint
being left behind when the cloth strip is pulled off the substrate,
being left behind when the cloth strip is pulled off the substrate,
but I'm not gaining the cloth texture effect which I'm hoping
to achieve.
The fourth attempt:
As you can see in this picture, the cloth strip remains
to sit on the canvas and after 20-minutes, I will pull it off
and see what kind of texture is left behind now that
it's had some time to dry.

The fourth attempt: part 2
Well, after waiting the 20-minutes, a random amount of
time I chose, I peeled off the semi-dried strip of cloth.
To be honest, I think the third attempt gave me
better results.

Compare the third and fourth attempts by clicking on
this image to enlarge it. Though, the fourth attempt did
leave nice texture, it was too transparent and hit & miss;
whereas, the third attempt was much more opaque,
but also showed the texture of the cloth.
So, the solution for this particular project is to
repeat the approach I used in the third attempt by
not wringing out as much paint and even more importantly,
rubbing instead of tapping the cloth for an even application.
In the final results, I will provide even more detailed
images to showcase the cloth texturing.
In the final results, I will provide even more detailed
images to showcase the cloth texturing.

No comments:
Post a Comment